How to Use Split Screen in Windows 10

If you’re struggling for screen real estate, you could use the Windows split-screen feature. Here’s how.
Two screens, three screens, or more—if you’ve got the screen real estate, you don’t really need to worry about how many windows you have open on your PC. Unfortunately, not everyone has more than one screen to work with.
That means you might need to be savvy with how you arrange any open windows to get the most out of your display. Thankfully, Windows 10 includes a useful split-screen feature called Snap Assist that will quickly help you work with two windows or more at the same time.
Here’s how to use this split-screen feature in Windows 10.
How to Use Snap Assist With Two Windows
While Snap Assist is a useful feature for a single monitor, it can also be used to help organize open windows across a dual monitor setup, too.
There’s no additional software required to use it. Snap Assist is a built-in feature that any Windows user can use across all versions of the operating system. You can use it with two or more windows, but splitting your screen into two will place two open windows, side by side.
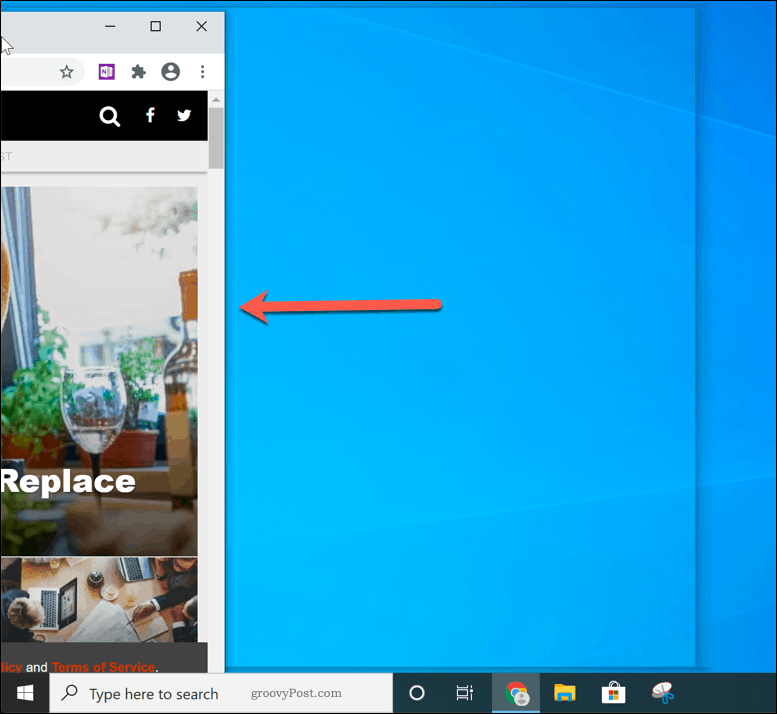
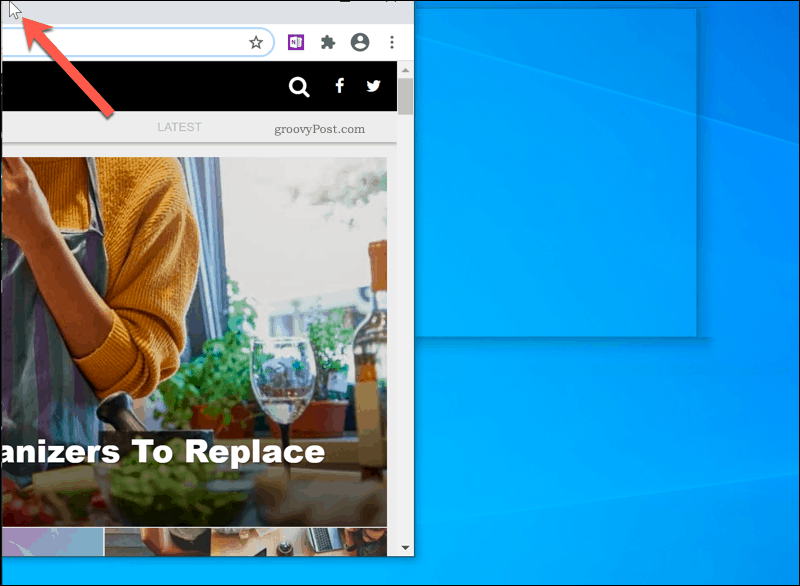
To use Snap Assist with two open windows, drag one of the windows you want to snap into place to the left or right side of the screen. Once your cursor reaches the left or right side, a translucent overlay will appear, demonstrating the new position of your open window.


Release your mouse at this point to drop the window into place. Alternatively, press the Windows key + left or right keys to move your active window into the left or right snapped position.


If you have other windows to choose from, Windows may ask you which window you’d like to place on the other side to match it in a 50:50 screen split. If this happens, select the second window you wish to snap from the pop-up menu.
Alternatively, select the original window to leave only that window snapped into place. The other side will remain empty.


Snap Assist will usually split a screen equally (50:50). If you want to increase the size of one window, place your cursor on the middle barrier between the two windows.
Press and hold this barrier, moving either left or right to resize both windows.


This will increase the size of one window while decreasing the other, ensuring both windows remain open and in full view.
Using More Than One Window With Snap Assist
You can also use more than one window with Snap Assist, snapping windows into the left and right corners at the top or bottom. This will split your screen into four sections.
As with a 50:50 split using two windows, you can snap multiple windows into place by dragging them into one of the four corners of your screen. For instance, moving an open window into the top-right corner will resize that window so that a quarter of the visible screen is taken.


You can then repeat this step with three subsequent windows. By the end of the process, all four corners should be filled.


You can resize any of the windows, but unlike with a 50:50 split, these won’t move equally and may end up overlapping or leaving part of the desktop visible.


Optimizing the Windows 10 User Experience
If you only have a small screen, you need to maximize the space. This is exactly what Snap Assist is designed to do, along with other features designed to improve the user experience in Windows 10.
Smaller screens may mean smaller text but, if you’re struggling to read, you could take advantage of the zoom and magnify features in Windows 10. You could even install a custom theme to change how Windows looks and make it better for your own tastes and needs.
