How to Fix Code 43 On Windows

Hardware failures on Windows 11 are sometimes referred to as code 43 errors. If you see a code 43 on Windows, follow this guide to fix the problem.
If you’re a PC gamer, you might run across a “Windows has stopped on this device” (code 43) error. It doesn’t have to be a big gaming rig to get the error, either. You might have seen it on your laptop.
The code prevents you from using hardware devices like graphics cards, internal drives, and external drives. A bad hardware device, a corrupted driver, or other software can cause the error.
We’ll show you how to fix code 43 on Windows below.
Confirm a Code 43 Error on Windows
If you get the generic Windows has stopped this device because it reported problems, you’ll want to verify it’s a code 43. Note that it usually happens with graphics cards or GPUs, but it can also be an issue with external USB devices.
You can confirm a code 43 error on Windows:
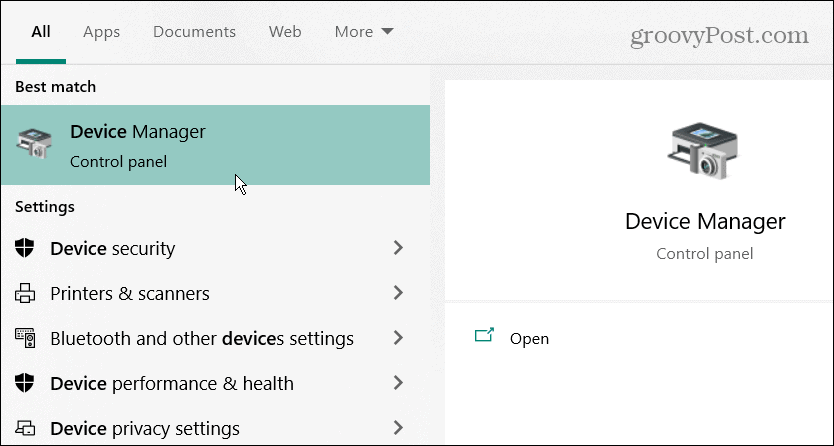
- Press the Windows key, search for Device Manager, and click the top result.

- Device Manager may place an exclamation point next to the problematic hardware—double-click it to open its properties.
- Otherwise, right-click your graphics card (or other hardware), right-click, and open Properties.
- When the properties window opens, look for code 43 in the Device Status section under the General tab.


Restart Windows
Note that these solutions will work on Windows 10 and 11, and the steps are virtually identical.
One of the first things to try is a restarting your PC. Restarting clears history, cache, and other temp files that could interfere with the GPU’s operation.
To restart Windows 10 or 11:
- Make sure you save your work saved and close all programs.
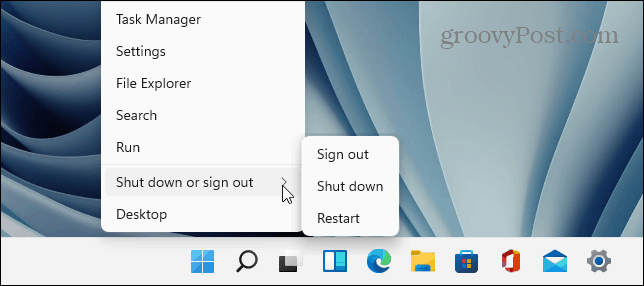
- Right-click the Start button and choose Shut down or sign out > Restart.

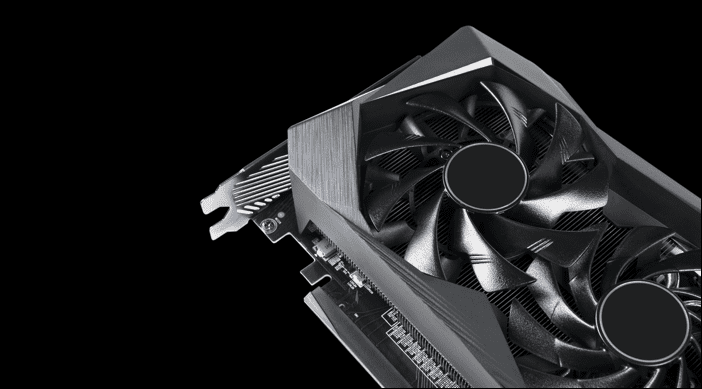
- If you have a desktop PC and can access the GPU, shut down your PC, open the case, re-seat the graphics card (ensure it’s properly connected), and power on your PC again.

Safely Eject All External Devices
If the problem could come from an external device like a drive or something else, disconnect them safely and see if the error persists. All versions of Windows usually don’t care if you unplug a USB device when you need to, but doing it safely will ensure data is preserved.
To safely eject a USB device, do the following:
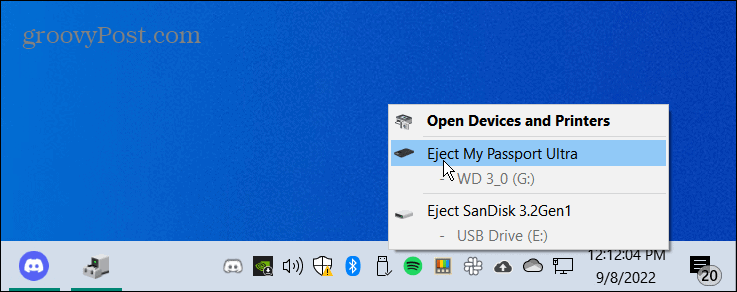
- Right-click the USB symbol on the taskbar in the right corner.


- Click the Eject My “..” option and do this for all devices.

- Use a secondary computer (if you have one), plug the device in, and see if it works. If it doesn’t, the device is at fault. Or, if it works, the issue is most likely the USB port.

Are they working on the secondary PC? Plug them in one by one to determine which one is faulty. It could be they weren’t faulty; instead, you may have incorrectly plugged them into the USB port.
Update Device Drivers
Another essential thing to do is update your device’s drivers. For example, the GPU may have a bug that a driver update will fix.
- Click Start, search for Device Manager, and choose the top result.


- Expand the branch that contains the device you need to address.
- Right-click the device and select Update driver from the menu.

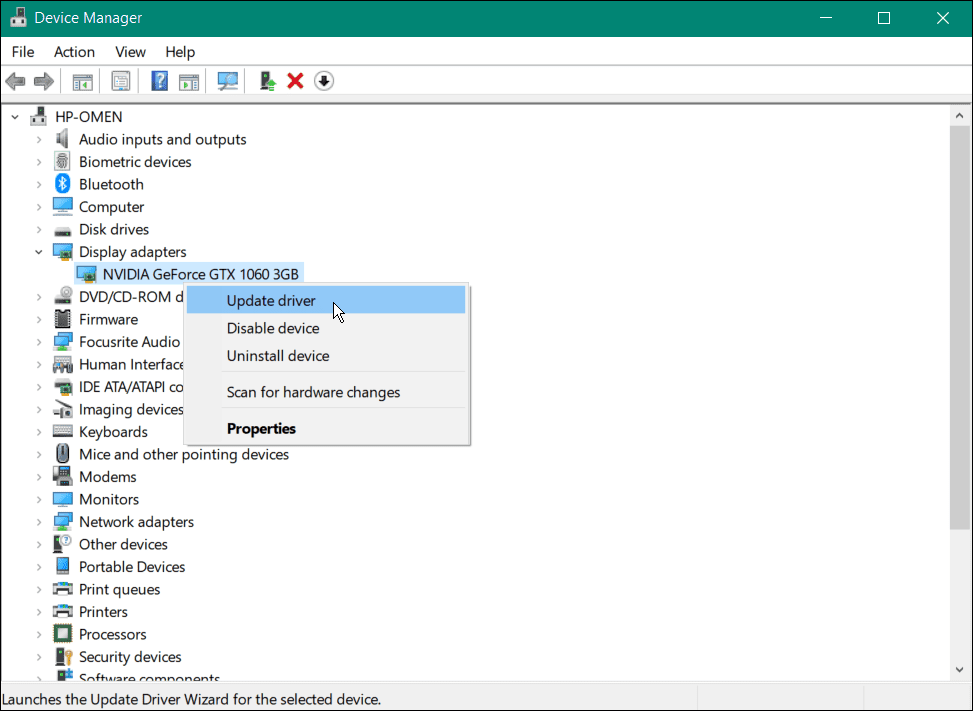
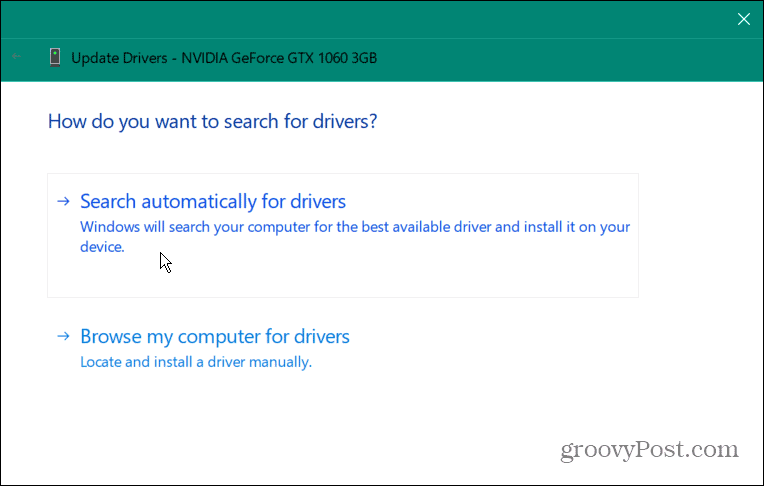
- On the following screen, select the Search automatically for drivers option.

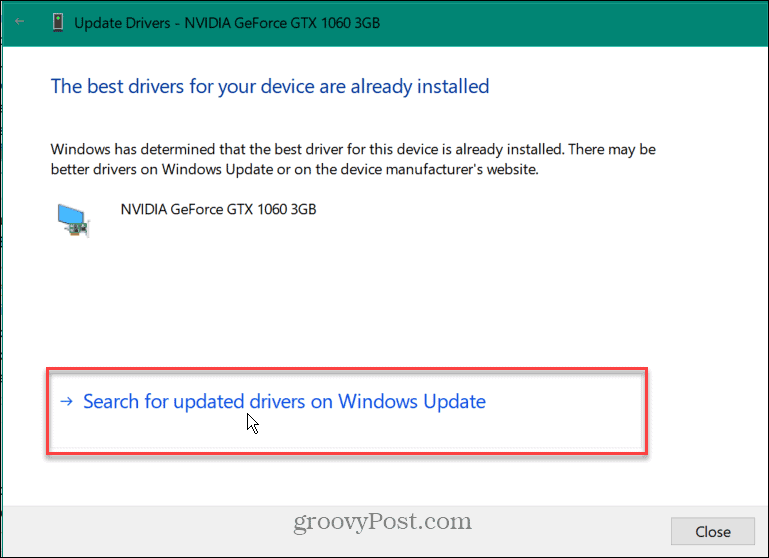
- If a new driver for the device is available, Windows will install it automatically. If it says it found the best drivers, click the Search for updated drivers on Windows Update and follow the on-screen instructions.

It’s also worth noting that if Windows doesn’t find a driver for your device, you can always install updated drivers manually.
Disable and Re-enable Device
Another step you can try is disabling the device with the error and re-enabling it. You can do it directly from Device Manager.
To re-enable a device on Windows:
- Click Start, search for Device Manager, and open the top result.
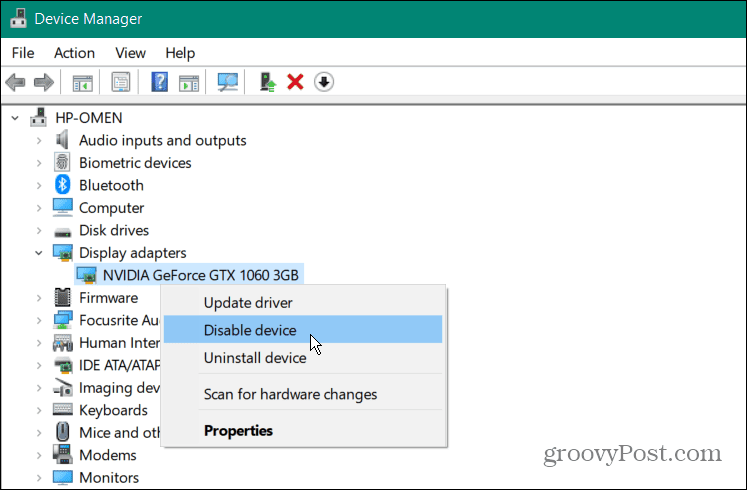
- Right-click the problematic device (it may have a red exclamation icon) and choose Disable device from the menu. Note that your monitor will flash several times if it’s your GPU, and the screen may look big, like in Safe Mode.

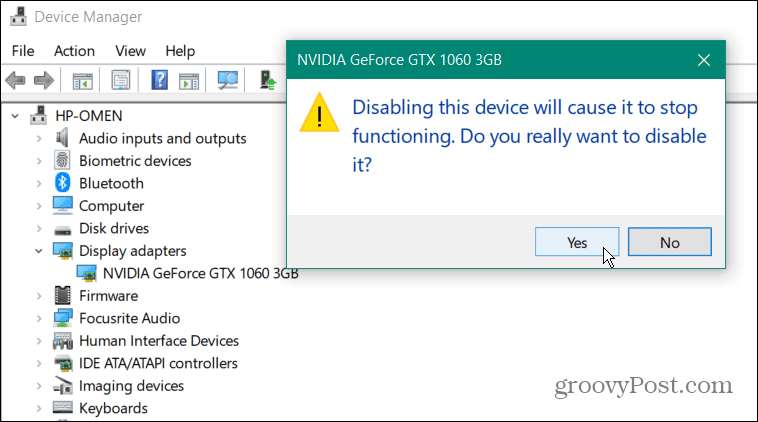
- Click the Yes button when the verification message appears.

- After a few seconds, right-click the device and select Enable device.

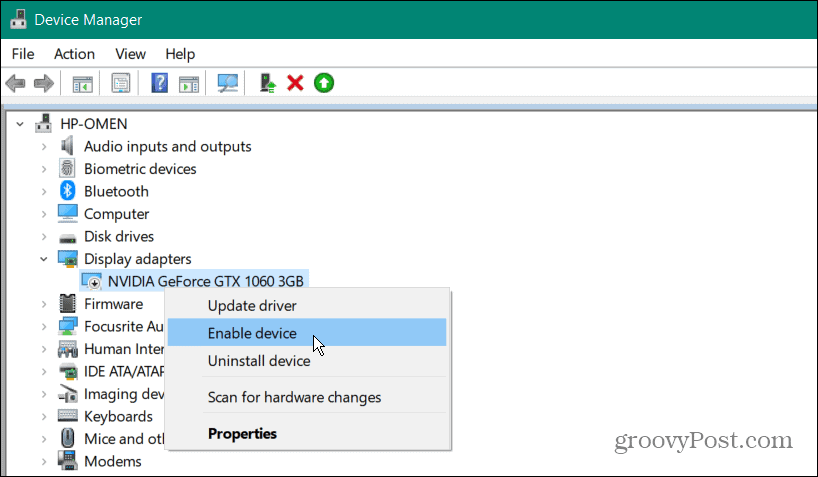
You can fix Code 43 on Windows by just re-enabling problematic devices. Ensure you only use this step if updating drivers doesn’t work.
Check for Windows Updates
Windows will automatically check and install system drivers in the background. However, it doesn’t hurt to check manually. So, for example, a driver from Microsoft may fix the hardware issue waiting for you to install.
To check for the latest Windows Updates, do the following:
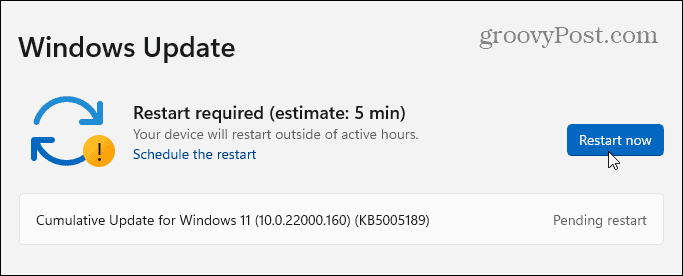
- Press the Windows key and open Settings > Windows Update.

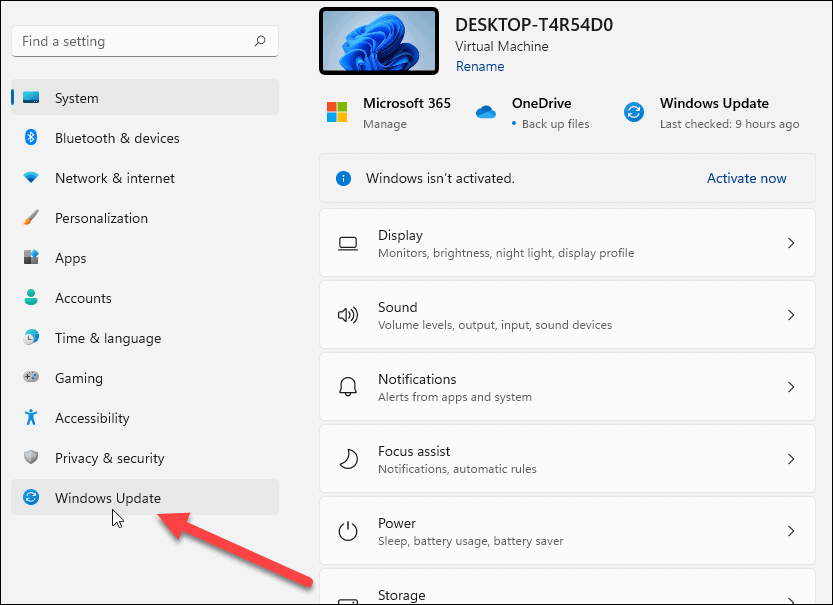
- Click the Check for Updates button, install all updates it finds, and restart if necessary.

Fixing Errors, Including Code 43 on Windows
If you use the steps above, you should get your system up and running correctly if you see a code 43 error on Windows. If all else fails, you can always try a System Restore. Other last-ditch efforts would include restoring from a system image backup, provided you already created a full system image.
Of course, you can always clean install Windows 11 but ensure you back up important data first.
In addition to code 43, Windows may pop up other errors at you. For example, you may need to fix a VCRUNTIME140.dll missing error or use various fixes for a Windows 11 stop code memory management error. You may also be interested in how to fix the NTFS_File_System Blue Screen of Death error on Windows 10 or Windows 11.
1 Comment
Leave a Reply
Leave a Reply

Evie
September 1, 2023 at 5:42 pm
I found the info about turning my Google search back into light mode from dark mode to be very helpful. Thank you!