How to Disable Reserved Storage on Windows 11

If you are testing featurews or need to free up drive space, you can disable reserved storage on Windows 11. Here’s how to do it.
The reserved storage feature on Windows sets aside a portion of the hard drive to save system files. The amount of space Windows uses varies, but if you have a low-capacity drive and need to reclaim drive space, you may want to disable reserved storage on Windows 11.
While the operating system manages reserved storage, even when low on drive space, you might want to disable it for testing or other reasons. Luckily, the process is straightforward and can be done by running a couple of commands.
So, while turning it off is generally not recommended, if you want to disable reserved storage on your system, we’ll show you how to do it in this guide.
What is Reserved Storage on Windows?
The reserved storage feature on Windows allocates part of your available storage for updates, temp files, and caches of system files. The amount of space allocated varies between PCs and can range from a few gigabytes in size to 10GB or more. Windows manages the size, and the amount of reserved storage will change throughout system use.
Windows automatically deletes files in reserved storage as your drive fills up to allow easier upgrades.
The feature has been part of the operating system since Windows 10 version 1903. It’s been enabled by default on every version of Windows since, and disabling it isn’t recommended. So, if you need to clean up your drive, use Storage Sense before jumping to disabling reserved storage.
However, if you are testing features, need space in a pinch, or have other reasons to disable reserved storage, you can do so by running a couple of commands.
How to Check Reserved Storage Amount
If you want to check out the amount of drive space set aside for reserved storage, use the following steps.
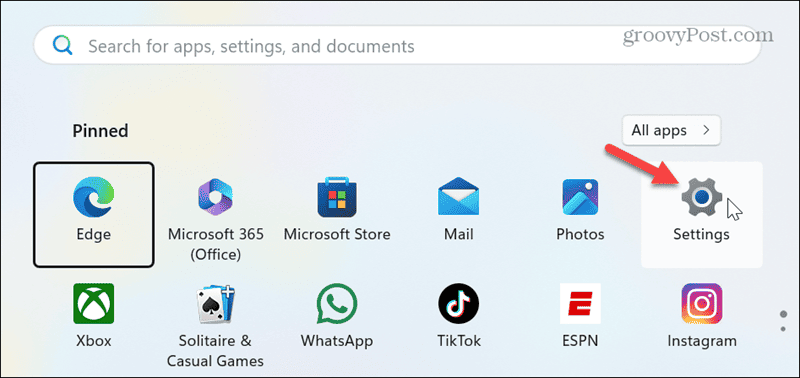
- Press the Windows key and select Settings from the Start menu.

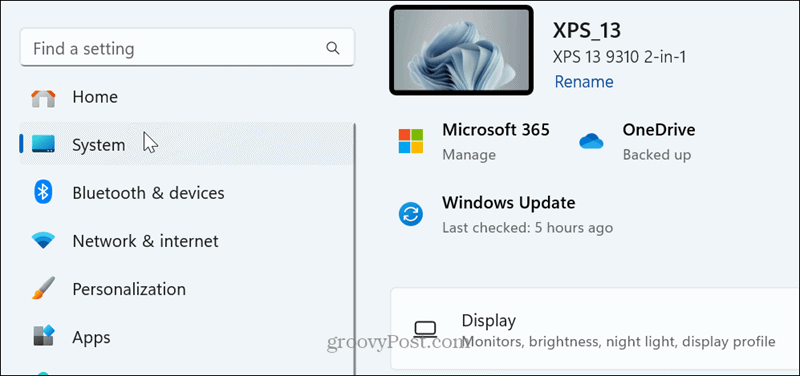
- Click System from the left panel.

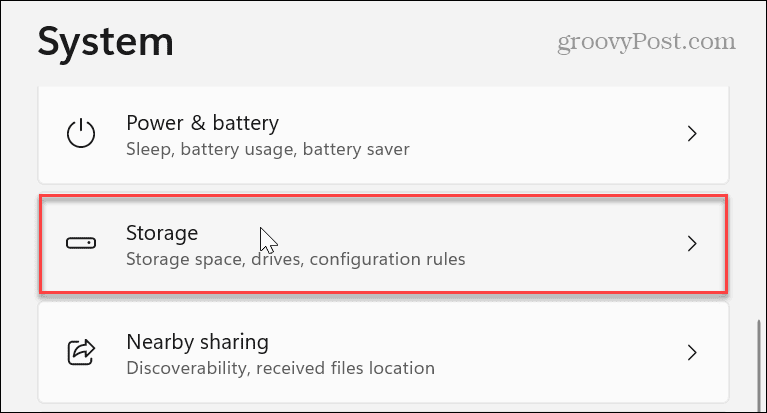
- Click the Storage option in the right pane.

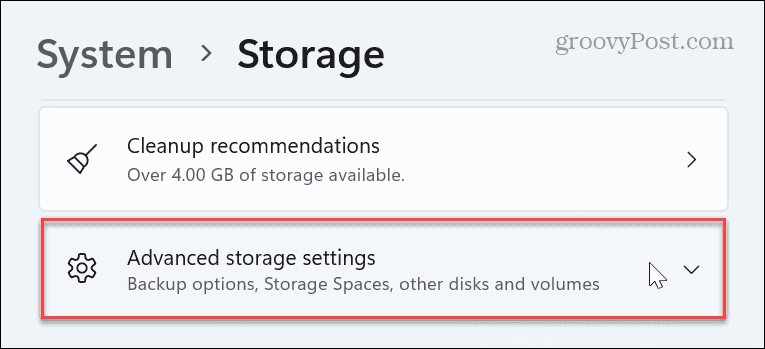
- Scroll down in the right pane and expand the Advanced storage settings option.

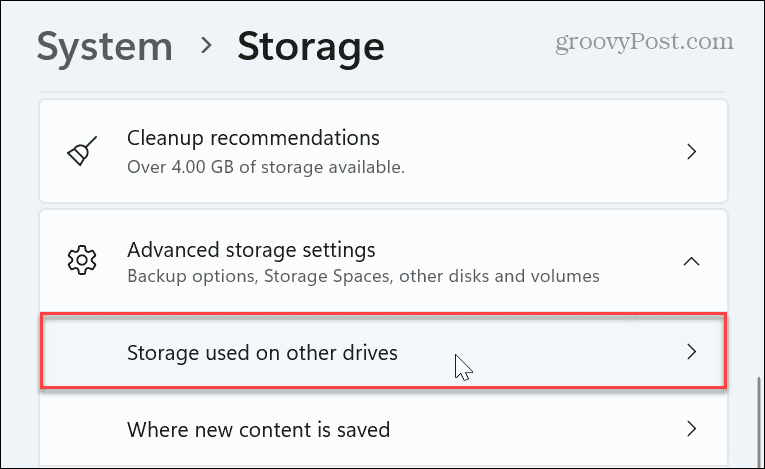
- Click the Storage used on other drives option from the menu that appears.

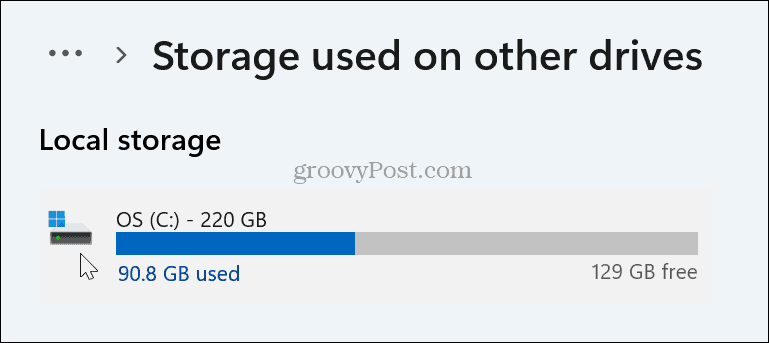
- Click your local C: drive.

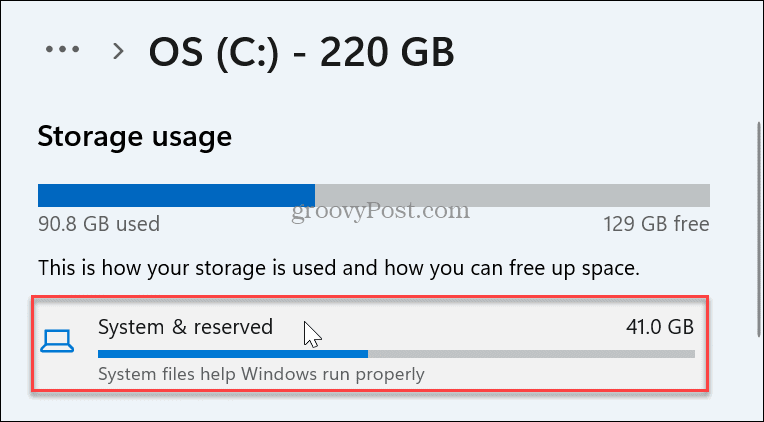
- Select the System & reserved storage option under the Storage usage section.

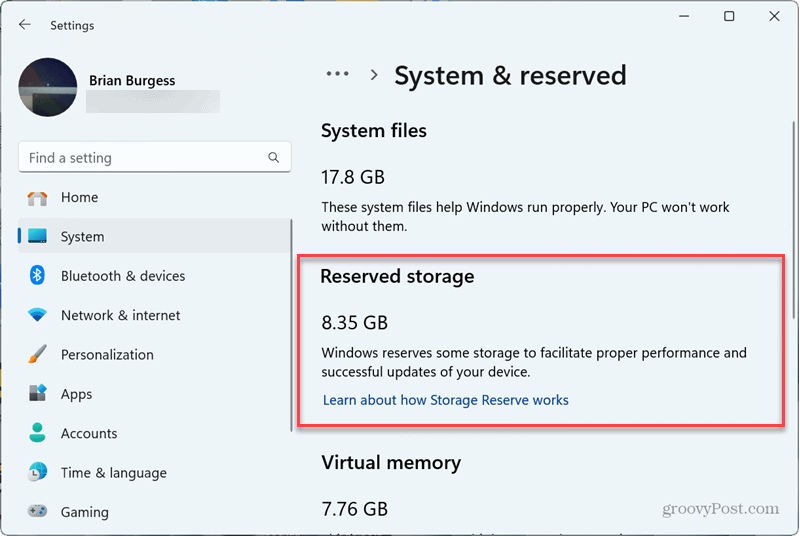
- The Reserved storage amount will appear. For example, the laptop uses 8.35GB of drive space on our machine.

How to Disable Reserved Storage on Windows 11
Once you know the amount of storage space allocated to reserved storage, you may want to disable it. You can disable it using the DISM command via the command line.
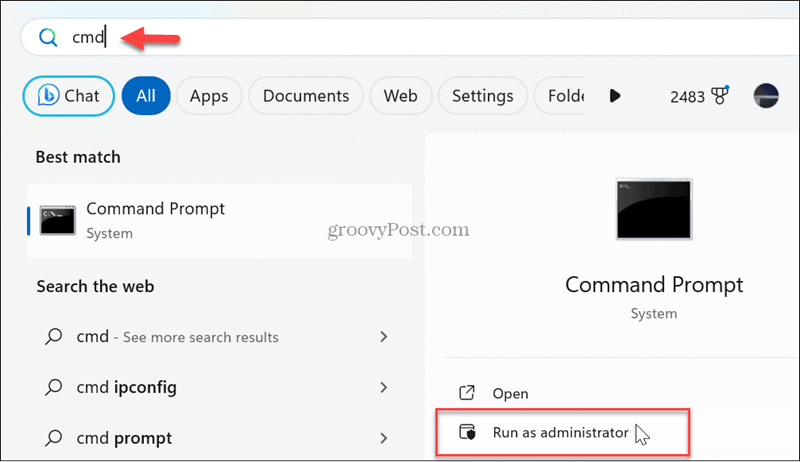
- Press the Windows key, type CMD, and select Run as Administrator.

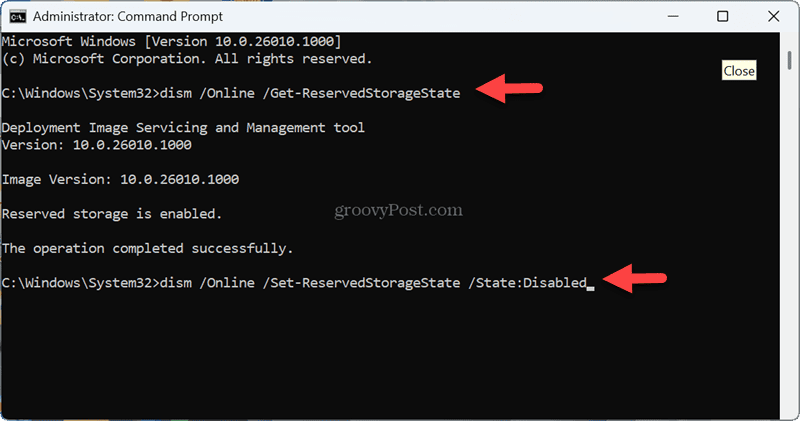
- Type the following command and press Enter:
dism /Online /Get-ReservedStorageState
- Once the command completes, type the following command and press Enter:
dism /Online /Set-ReservedStorageState /State:Disabled

Note: If you want to reenable reserved storage, run the following command:
dism /Online /Set-ReservedStorageState /State:Enabled
That’s all there is to it. Reserved storage will be disabled once the “operation completed successfully” message appears. It should only take a moment to complete.
Disabling Reserved Storage on Windows 11
Again, it’s important to note that disabling reserved storage is not recommended. But you may need to do it for testing or other reasons. For example, you might have a low-capacity drive without room for updates.
Windows manages reserved storage, and if you need to disable it, it’s quick and easy by running the DISM command line tool. It’s also important to note that disabling it won’t affect other storage capacities on your PC.
Leave a Reply
Leave a Reply


