How to Disable PowerShell on Windows 11

PowerShell is a powerful command line tool for admins to make system changes. If you want to disable access to PowerShell on Windows 11, follow this guide.
The Windows PowerShell terminal allows administrators to configure system and app settings on Windows. You might want to disable PowerShell on Windows 11 for certain users, however.
PowerShell is a powerful utility for running commands to manage system settings. However, if you have an inexperienced user, you might not want them to access the PowerShell terminal and make unwanted system changes.
Disabling accessibility will prevent users from entering commands leading to system instability. Learn how to disable PowerShell on Windows 11 to ensure a stable system below.
How to Disable PowerShell on Windows 11
While you can configure many system and app settings with PowerShell, the command line isn’t friendly to inexperienced users. If a person runs incorrect commands, it can lead to undesired results.
Luckily, you can disable PowerShell on Windows 11 Pro and higher via Group Policy or tweak Registry settings on Home or Pro versions of Windows.
Note: The following steps will disable PowerShell on Windows 10 or 11 Pro or above.
To disable PowerShell on Windows using the Group Policy Editor:
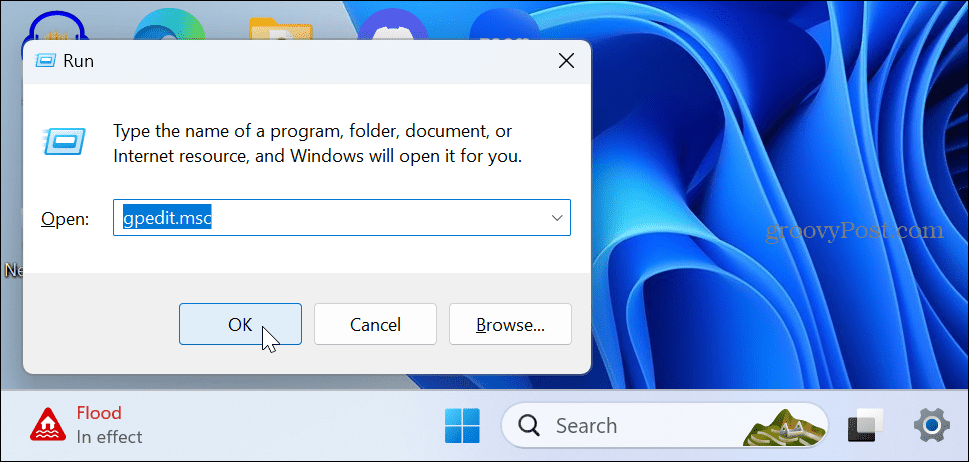
- Press Windows key + R to launch the Run dialog.
- Type gpedit.msc and click OK or press Enter.

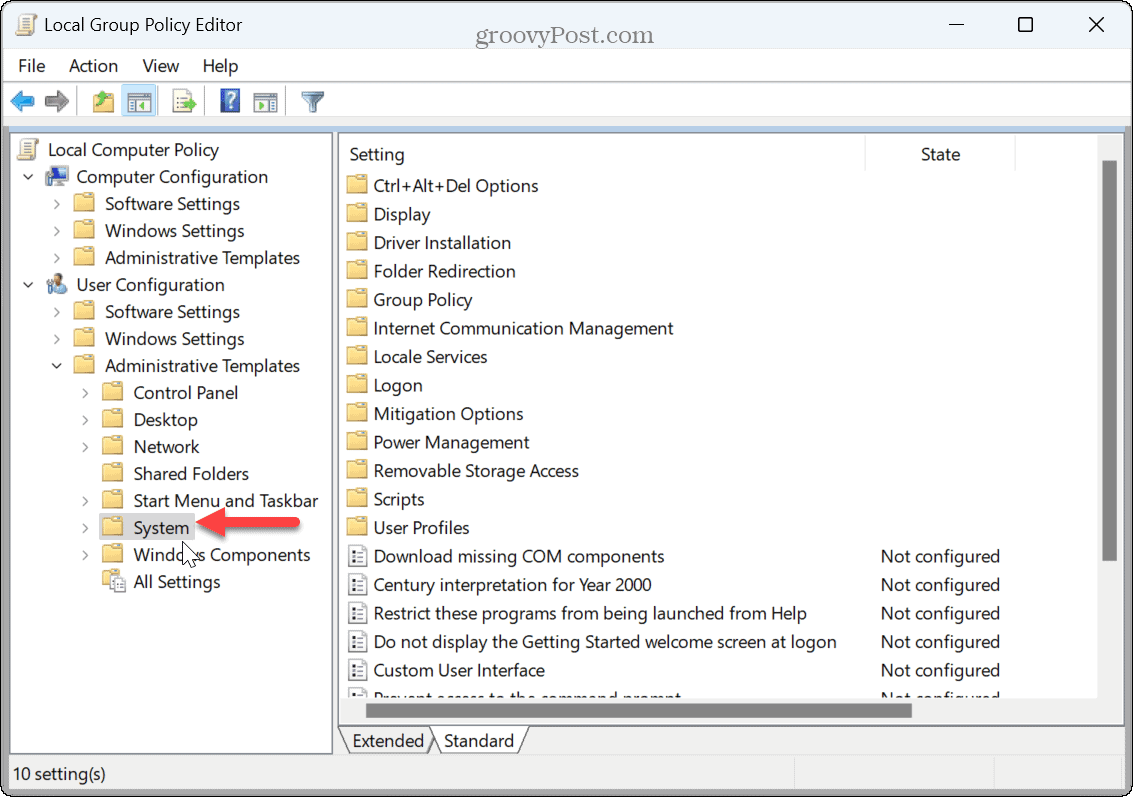
- Navigate to the following location in Group Policy Editor:
User Configuration > Administrative Templates > System

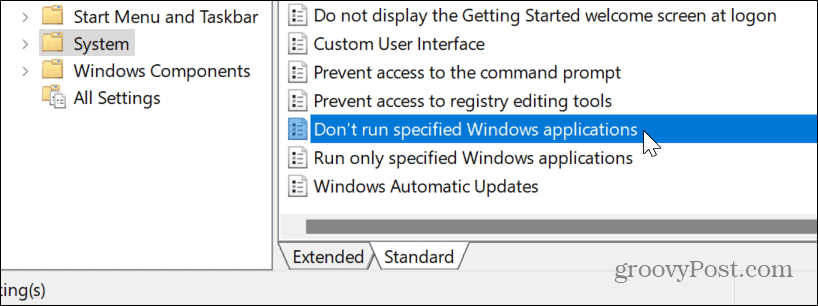
- Double-click the Don’t run specified Windows applications policy in the right column.

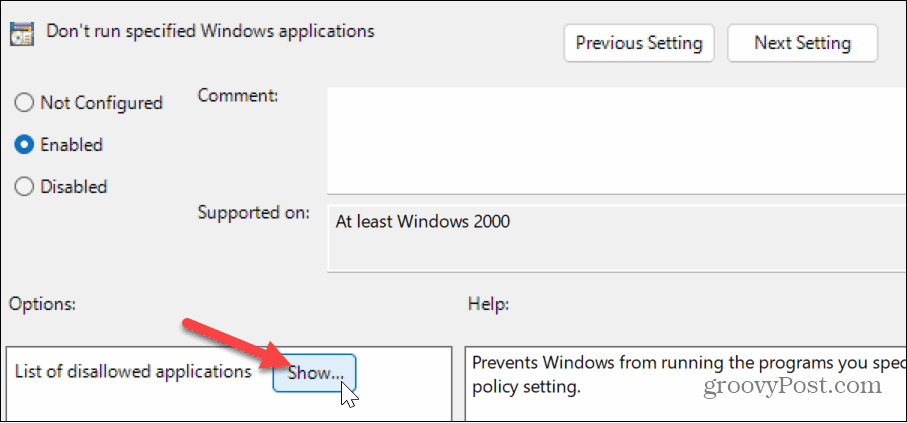
- Set the policy to Enabled in the top left corner.
- Under the Options section, click the Show button.

- Type powershell.exe in the Value box in the Show Contents window that appears and click OK.


- Click Apply and OK on the Group Policy screen when the Show Contents window exits.

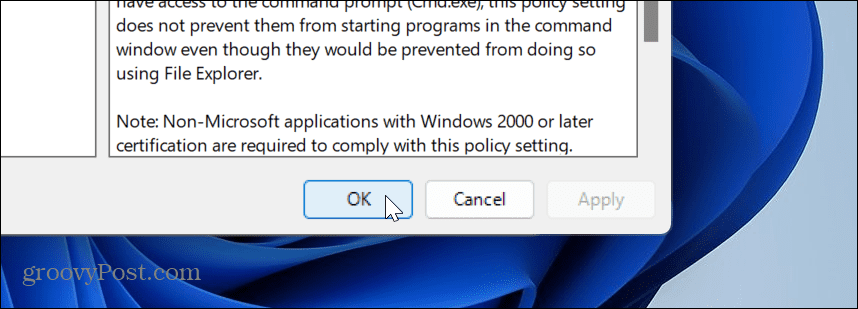
- A user can still search for PowerShell, but when they try to open it, the app won’t launch—even when using the Run as Administrator option.


If you need to enable PowerShell later, go into Group Policy and set the Don’t run specified Windows applications policy to Not Configured or Disabled.
How to Disable PowerShell Using Registry Editor
If you are running the Home version of Windows 10 or 11 or don’t want to use Group Policy Editor, you can disable PowerShell by modifying the Registry.
Important: Making changes to the Registry isn’t for beginners. Deleting or modifying a value incorrectly can make the system unstable or, worse, unable to boot. Before continuing, ensure to backup the Registry and create a Restore Point. For the best results, create a system backup to recover the PC from a system image if something goes wrong.
To disable PowerShell using the Registry Editor:
- Press Windows key + R to open the Run dialog.
- Type regedit and click OK or press Enter.

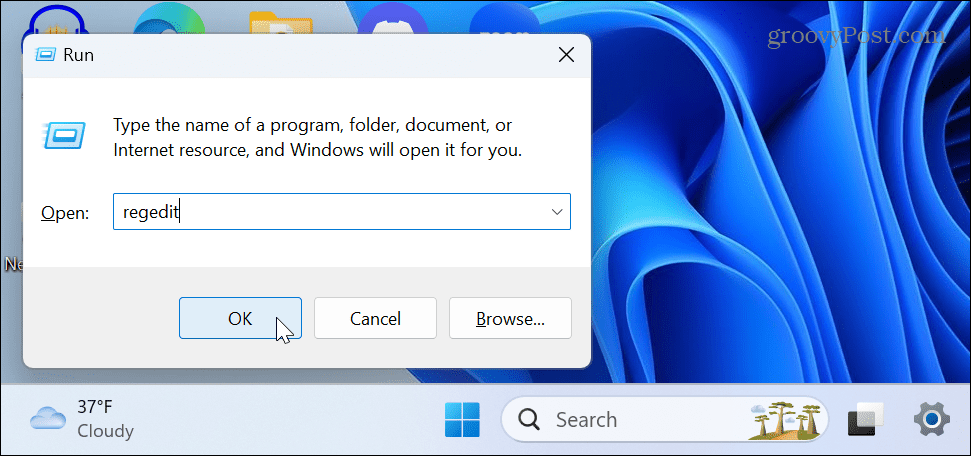
- Navigate to the following location in Registry Editor:
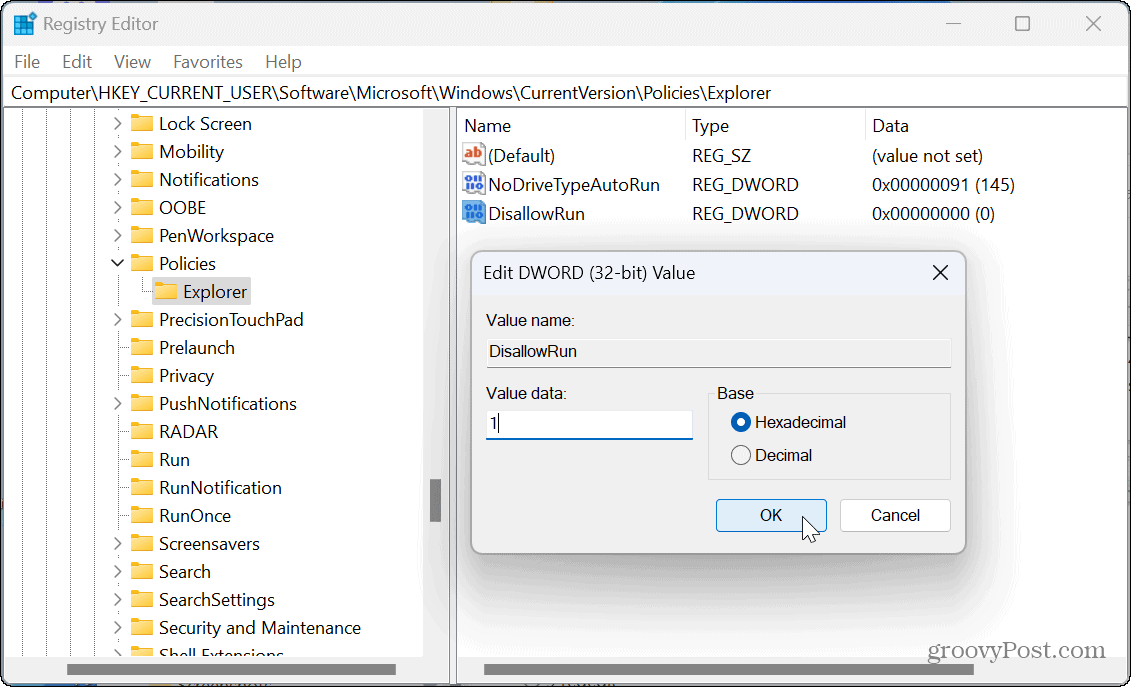
HKEY_CURRENT_USER\Software\Microsoft\Windows\CurrentVersion\Policies\Explorer


- Right-click a blank area at the right of the Explorer key and select New > DWORD (32-bit) Value.
- Name the new value as DisallowRun.
- Double-click the DisallowRun value, change its Value data from 0 to 1, and click OK.

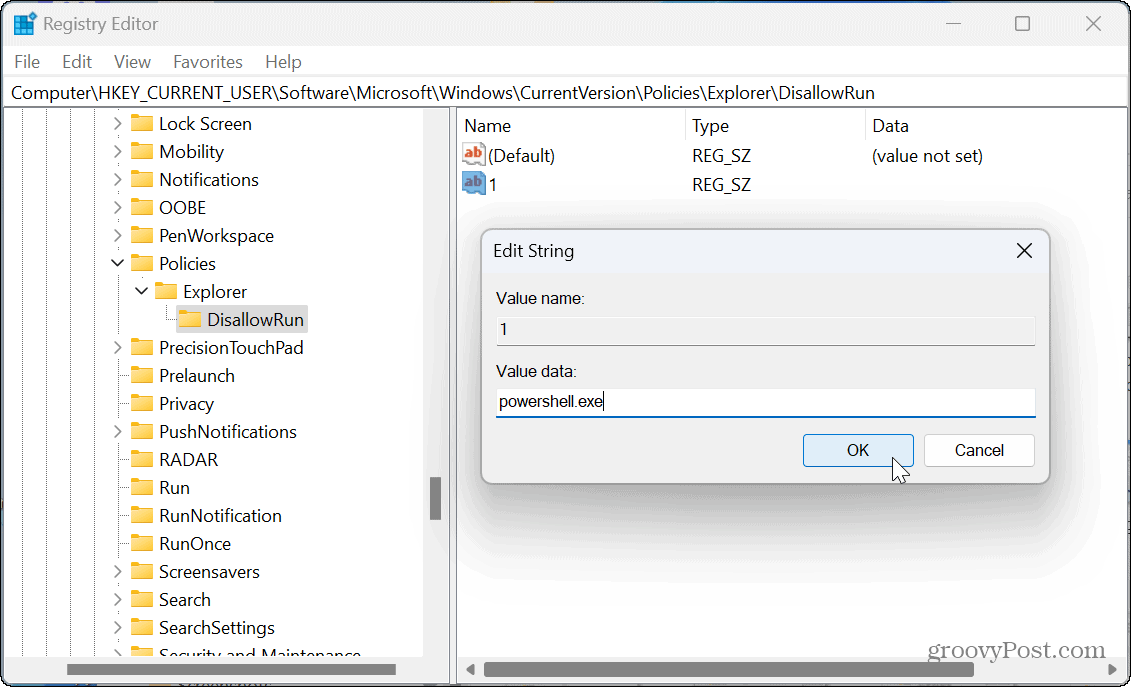
- Right-click the Explorer key from the left column, select New > Key, and name it to DisallowRun.
- Right-click an empty area in the DisallowRun folder on the right and select New > String Value.

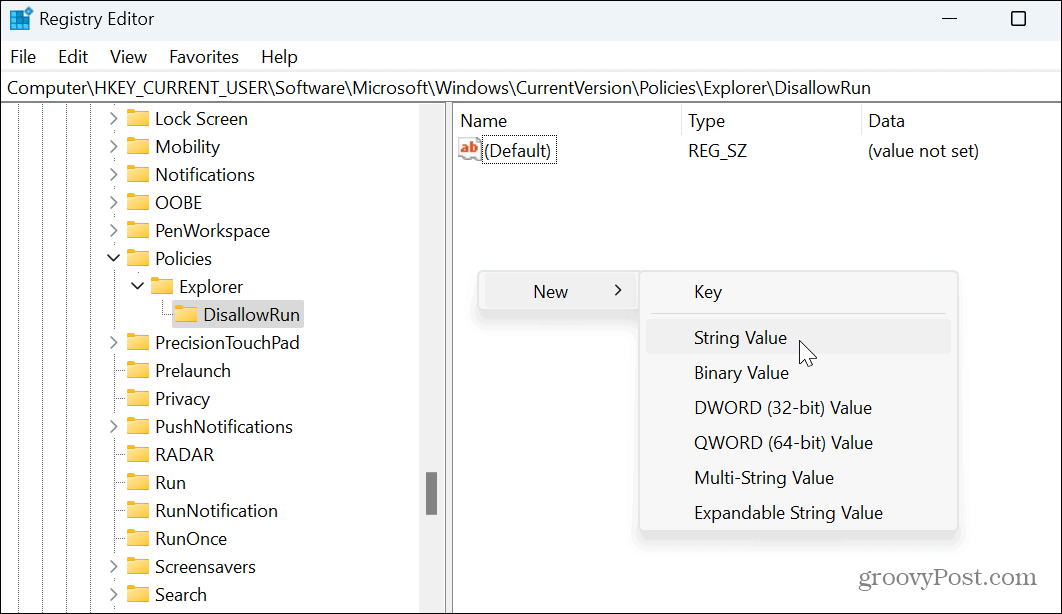
- Name the String Value as 1.
- Double-click the new string value, set the Value data to powershell.exe, and click OK.

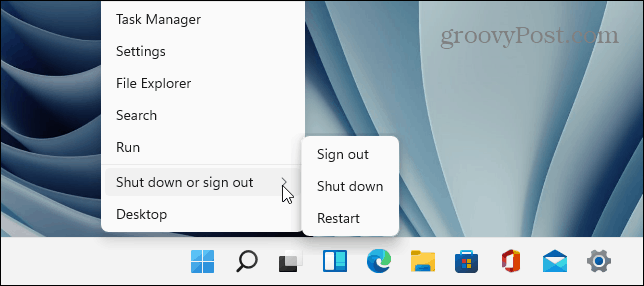
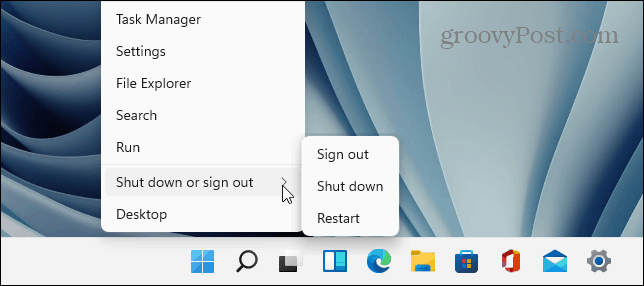
- Restart your Windows system for the changes to take effect.

After the restart, like using Group Policy to disable PowerShell, you’ll still be able to find the PowerShell app, but it won’t launch when selected.
If you need to reenable PowerShell in the future, open Registry Editor and navigate to the Explorer key outlined above. Double-click the DisallowRun value and set its Value Data from 1 to 0.


Managing Command Line Utilities on Windows 11
When you don’t want to allow users to make system changes from the command line on Windows, it is prudent to disable PowerShell. But, of course, you should also disable the Command Prompt on Windows, which is also a powerful tool.
If you don’t want to disable it but are having trouble, you can fix PowerShell not launching. And as an administrator, you might want to open PowerShell as admin on Windows 11.
You can take other safeguards to keep a user’s PC operating smoothly. For example, you can disable third-party app installations and only allow apps from the Microsoft Store. Also, you can prevent users from making changes to Quick Settings on Windows 11.
2 Comments
Leave a Reply
Leave a Reply


Umbun
October 18, 2023 at 3:14 am
Good Job. That is working.
Thank You for your tricks and tips.
Very help me!
Brian Burgess
October 18, 2023 at 7:25 am
Glad this worked for you. Thanks for reading!