How to Curve Text in Google Slides
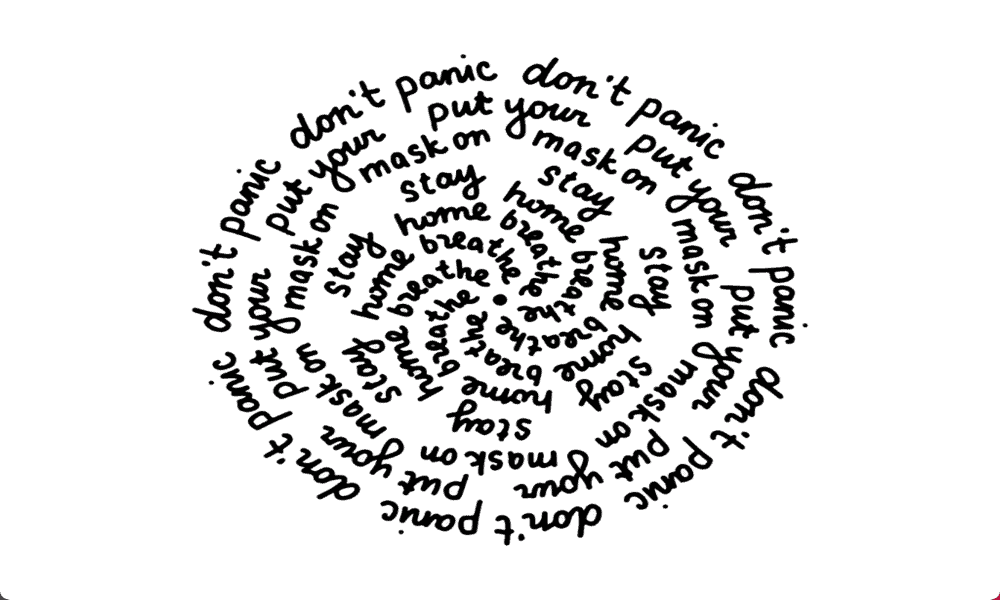
Google Slides lacks any in-built tools to add curved text, but it is still possible. Here’s how to curve text in Google Slides.
Google Slides is a very useful online slideshow application that allows you to create impressive presentations for free. It has a lot of helpful tools, such as the ability to make images transparent or to add and edit tables. However, there are some things that Google Slides isn’t able to do, even though they’re possible using other slideshow applications. One of those things is creating curved text. There are no tools in Google Slides to allow you to create curved text to make your presentations more visually interesting. The good news is that it’s still possible to add curved text to your Google Slides presentation if you get a little creative.
Here’s how to curve text in Google Slides.
How to Curve Text in Google Slides Using PowerPoint
If you have access to Microsoft PowerPoint, you can create your curved text in PowerPoint using the built-in text effects tools. You can then copy and paste the curved text into your Google Slides presentation.
To Curve Text in Google Slides Using PowerPoint
- Open PowerPoint.
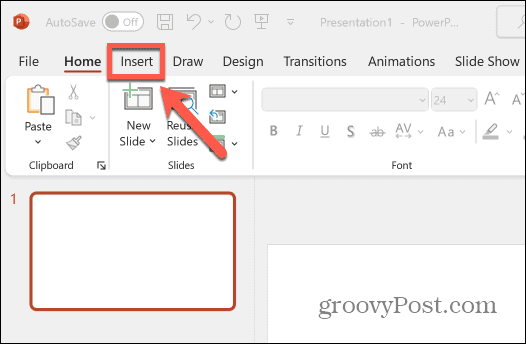
- Click the Insert menu.

- Select Text Box in the ribbon.

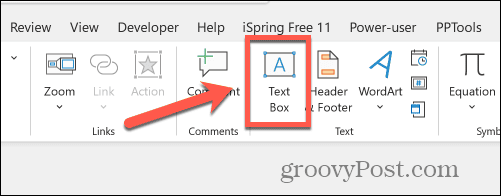
- Drag out your text box and enter your text.
- Click the Shape Format menu.

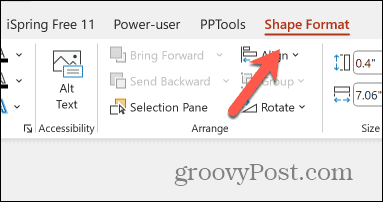
- Click the Text Effects icon.

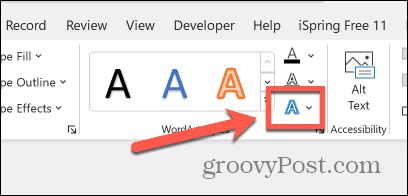
- Select Transform.

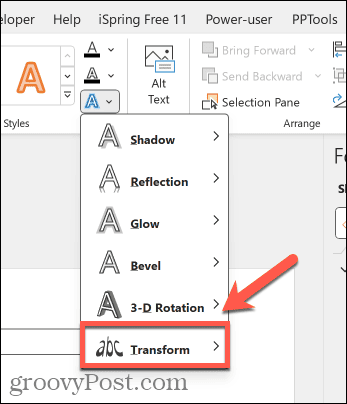
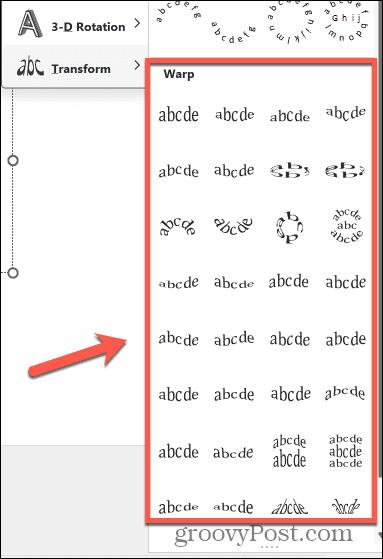
- Choose your curved text effect. For slightly curved text, you can use one of the Warp options.

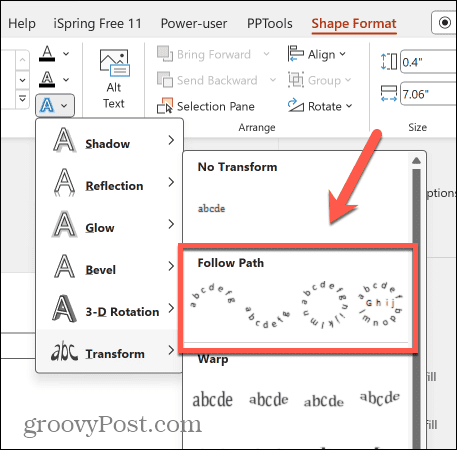
- For circular or partially circular text, select one of the Follow Path options.

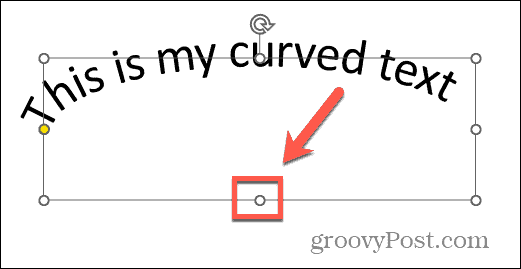
- To change the size of your text box, drag one of the White Dots around the border of the text box.

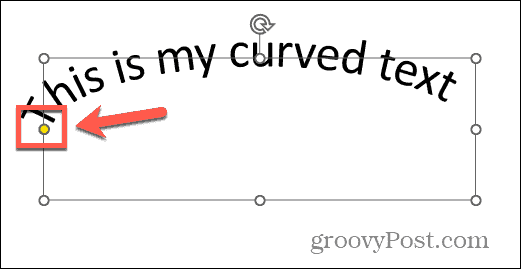
- To edit the curvature or position of your curved text, click and drag the Yellow Dot.

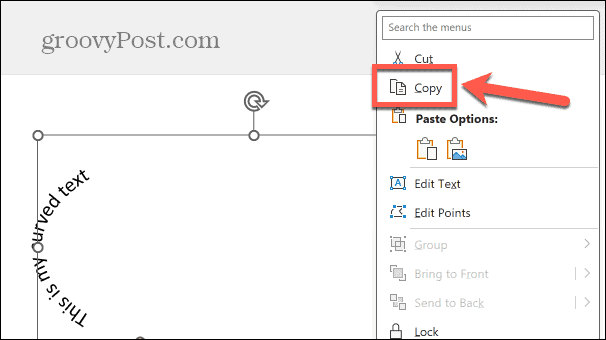
- When you’re happy with your text, select your text box, right-click, and choose Copy.

- Open your Google Slides documents.
- Right-click where you want the curved text to appear and select Paste.
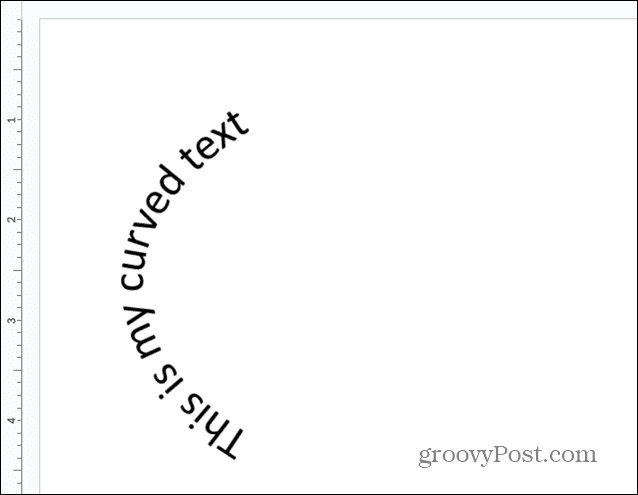
- Your curved text is pasted into Google Slides.

How to Curve Text in Google Slides Using an Online Tool
If you don’t have access to PowerPoint, there are online tools that you can use to create your curved text. You can then copy and paste the curved text into your Google Slides document. There are numerous online tools to choose from, some of which require you to create an account before you can use them. For this example, we’ll be using the inkPx Curved Text Generator, which is free to use and doesn’t require an account.
To Curve Text in Google Slides using inkPx
- Open the inkPx Curved Text Generator web page in a browser.
- Select the type of curved text you want to use, such as Text in Circle.

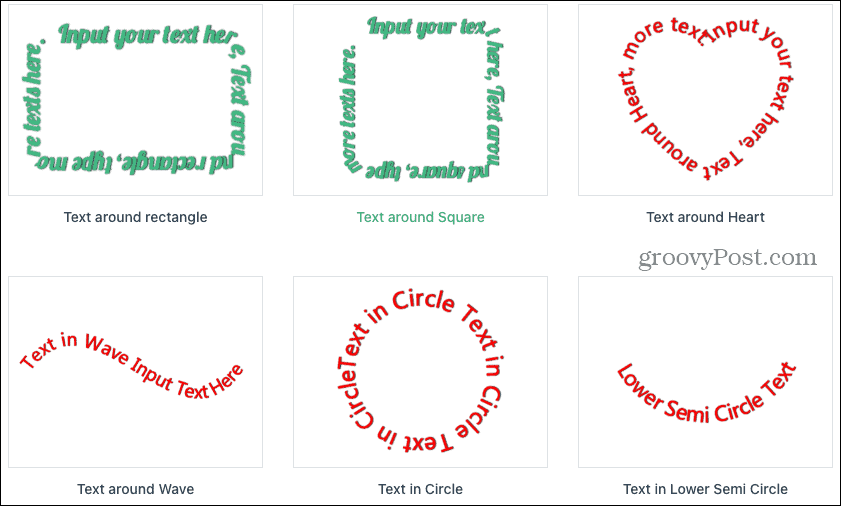
- Enter your text in the Text field.

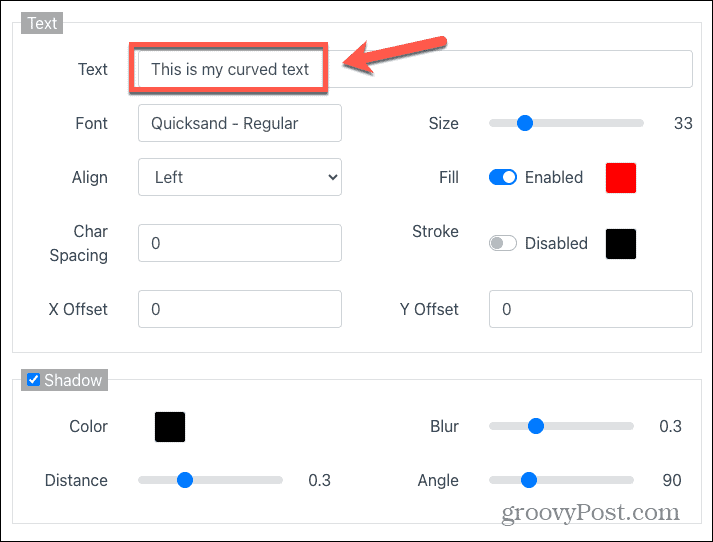
- You can change other options if you wish, such as the font, alignment, fill color, offsets, and shadow effects.
- You can also change the path of your text or add a background using the appropriate tabs.


- As you make your changes, you can preview your text in the window above.

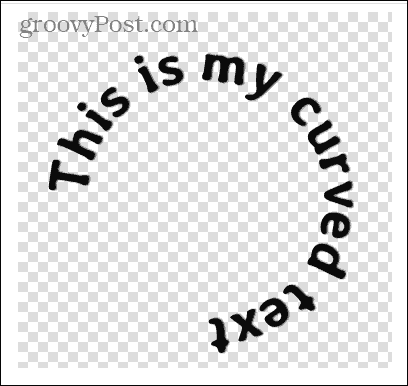
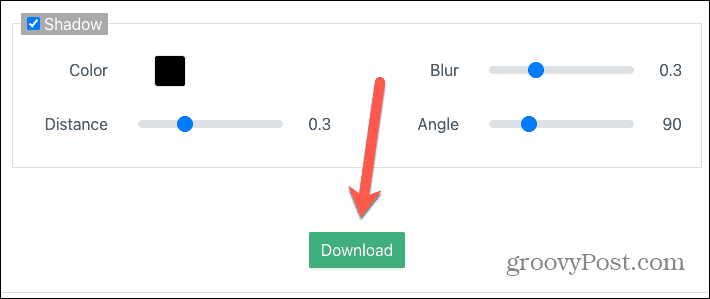
- When you’re happy with your curved text, click the Download button at the bottom of the page.

- Choose your download format. Selecting PNG will create an image with a transparent background.


- Click Download.
- Save the curved text image wherever you want it.
- Open Google Slides.
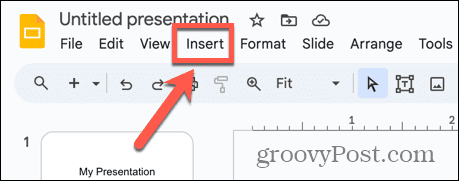
- Click the Insert menu.

- Select Image > Upload From Computer.

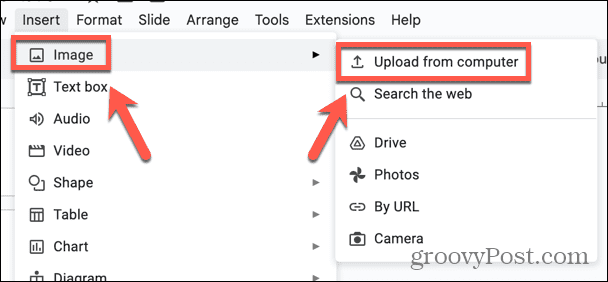
- Select your saved curved text file and click Open.
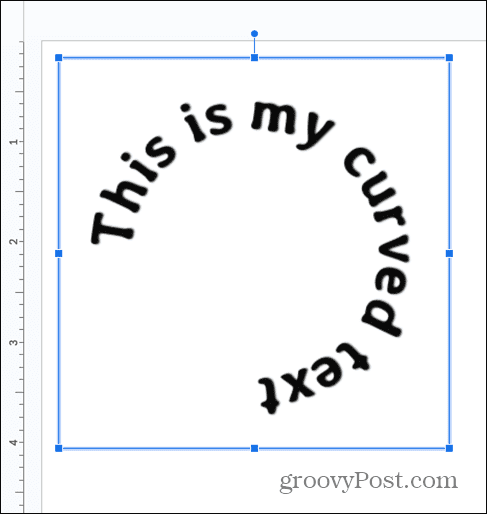
- Your curved text is added to your Google Slides document.

Get Creative With Google Slides
Learning how to curve text in Google Slides allows you to get more creative with your presentations. Google Slides may not have any native tools to allow you to create curved text, but by using one of the methods above, it’s still possible to utilize the effect in your presentation.
One downside of these methods, however, is that you can’t easily edit your curved text. If you want to make changes, you’ll have to go back to your PowerPoint document or your online curved text generator to make them, and then copy and paste the updated text.
There are plenty of other ways that you can make your Google Slides presentations more visually interesting. One method is to embed HTML into Google Slides. This allows you to insert videos or images directly into your slides to provide more interest. You can even use this method to add audio to your slides, to make your presentations both visually and audibly interesting.
Leave a Reply
Leave a Reply


